Latest 802.11n WLAN Driver for Windows 11, 10, 8, 7
The question of how to find and download a driver for the 802.11n USB WiFi adapter is becoming more and more relevant today because users purchase these simple devices on the Internet. So if you don’t know how to download and install the right DRIVER, we will try to help you.
How do you install the correct drivers using standard methods?
The Windows operating system installed from a reliable source already has all the necessary drivers, including 802.11n WLAN. So you need to use this method before moving to a more complicated one. To do this, do the following steps:
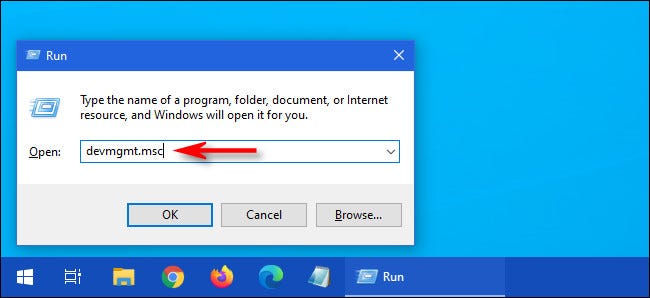
- Open Device Manager on your PC. You can do this through the Start menu, the Win + R key combination, and the devmgmt.msc command.
- Open Network adapters and select the device you want. Sometimes it can be found on Other devices.
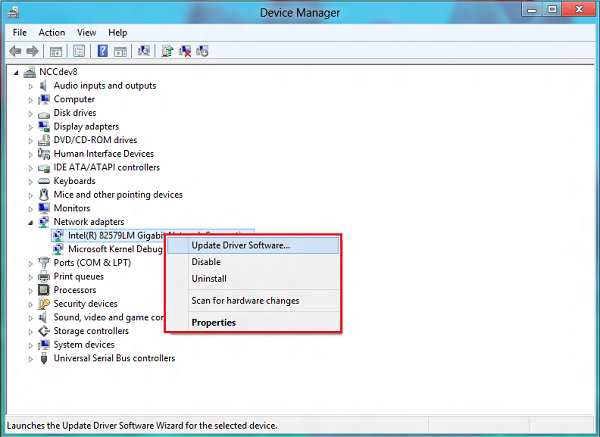
- Right-click on your network card and click on Update driver.
- Your operating system will then give you two choices: to install the driver automatically or manually. Choose the first option by clicking on Search automatically for updated driver software.
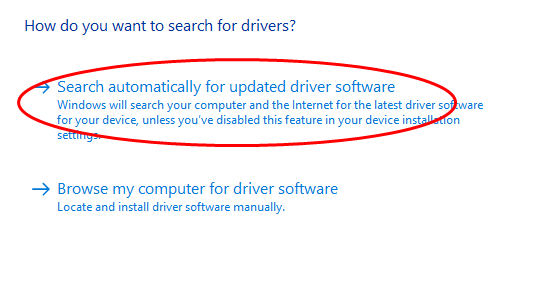
The rest of the process is automatic; you just need to follow the instructions. Don’t forget to reboot your computer after installing the driver. If the driver you need is not found using this method, you should install it yourself. We will tell you how to do this in the following way.
How to download the driver for the 802.11n USB WiFi adapter?
Windows 10 users rarely encounter such a problem because this operating system finds the necessary driver automatically. For example, when you connect a TP-Link adapter, it is detected immediately in the list of connected devices. But if this doesn’t happen, you can find a disc with drivers bundled with a USB adapter. Just insert it into the CD drive and install it by running the “Setup.exe” program.
It is more difficult to do if you don’t have this drive, so this instruction is written for you. First, you need to find out what kind of device is installed on your computer before starting to search for drivers. Do the following:
- Go through the Start menu to the Windows Device Manager and select Network Adapters. An unknown device, 802.11n WLAN, will be displayed.
- Right-click on it and go to Properties.
- Switch to the Information and select Hardware ID from the drop-down list.
- You will see two lines: this is the ID for your adapter. You can find drivers by using it.
- Now go to the DriverPack site and write the first line of this box.
- The correct driver for the 802.11n WiFi adapter will be found after searching. The site will determine what kind of OS you have installed. You just need to download it from the link.
- Run the downloaded file and click the “Install drivers only for..” link in the opened window of the installer.
- The Installation Wizard will start. When it finishes, click on the Finish button.
Check the device in the Device Manager and ensure the adapter is detected. Now you can connect to the Internet from the computer via WiFi. As you can see, installing the driver for the 802.11n USB WiFi adapter is simple and does not require special knowledge.