Black Ops Cold War Stuck on Compiling Shaders — how to fix this error
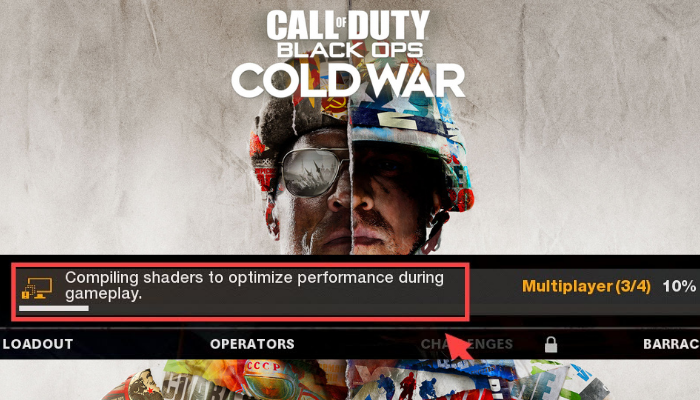
Black Ops Cold War is the benchmark game in the Call of Duty series, combining all the advantages of a shooter: graphics, dynamics, exciting storyline, and so on. If the shader compilation error prevents you from enjoying the game, we will show you several ways of solving this problem.
Scan and repair your game
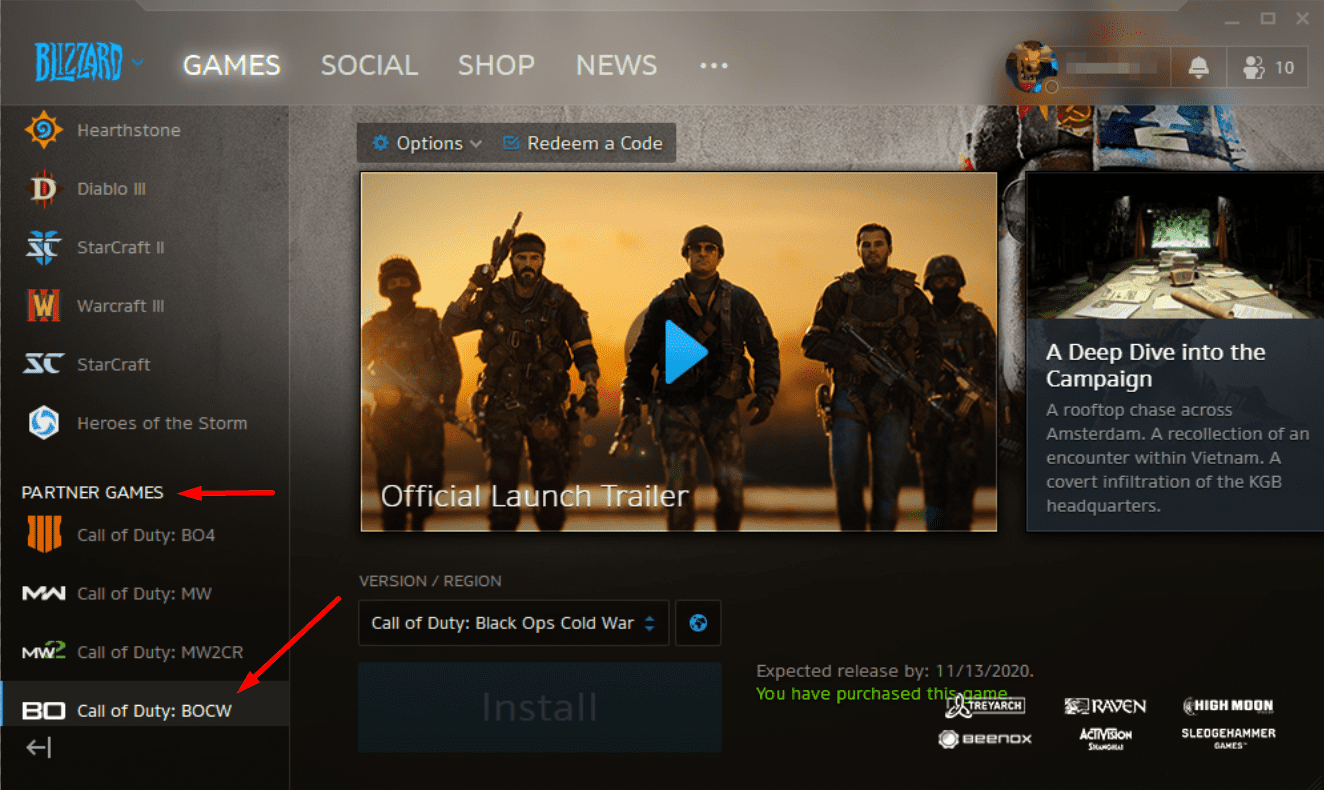
- Open the Blizzard Battle.net client and select the game you want to play (in this case, it is Call of Duty: BOCW).
- Open the Options menu and select Scan and Repair
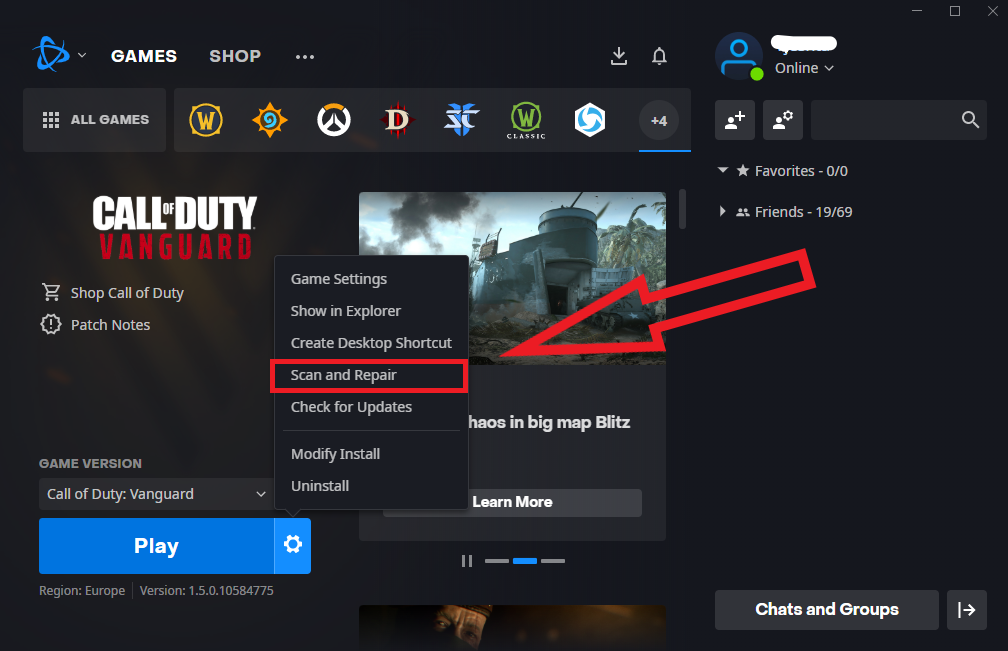
This process may take a while, and you just need to wait. When it finishes, restart the game. If this method doesn’t work, follow the next one.
Restart the shaders’ installation
Restarting the shaders’ installation can help you get rid of this problem. To do this, follow these steps:
- Launch the game and go to the settings.
- Select the Graphics tab and click on Restart Shaders Compilation.
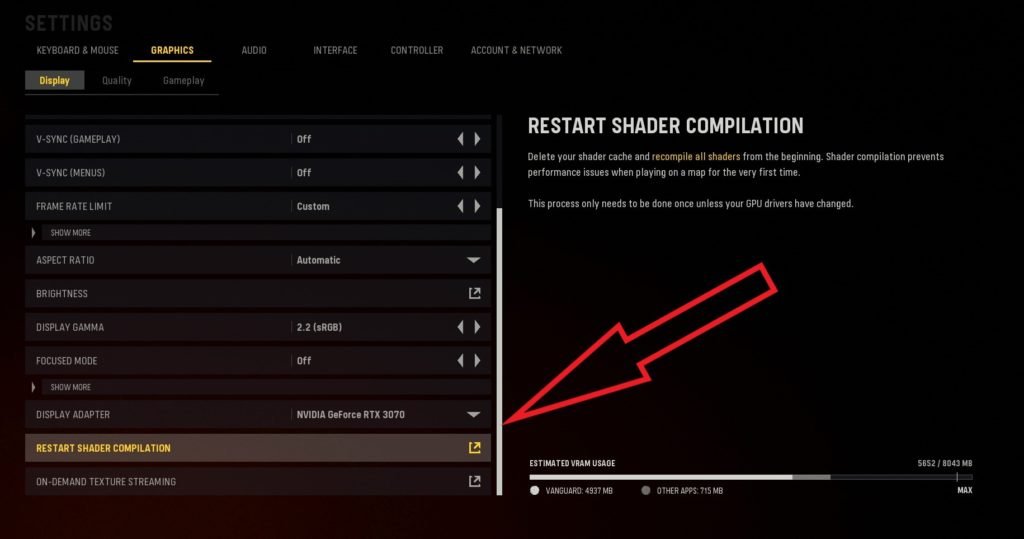
- Wait for the restarting process
If this method works, enjoy the game. If not, move the following way.
Update the drivers
If you use an outdated version of graphics drivers, the game can give the error we’re reviewing. Drivers can be updated manually by downloading the necessary files from the official website of your video card manufacturers, or you can do it automatically using special software. Let’s take a look at the second option using the example of the Driver Easy program:
- Download and install the program.
- Launch the program, select the Scan tab, and click on Scan Now.
- Click on Update All. The program will automatically download the latest versions of drivers and install them on your PC.
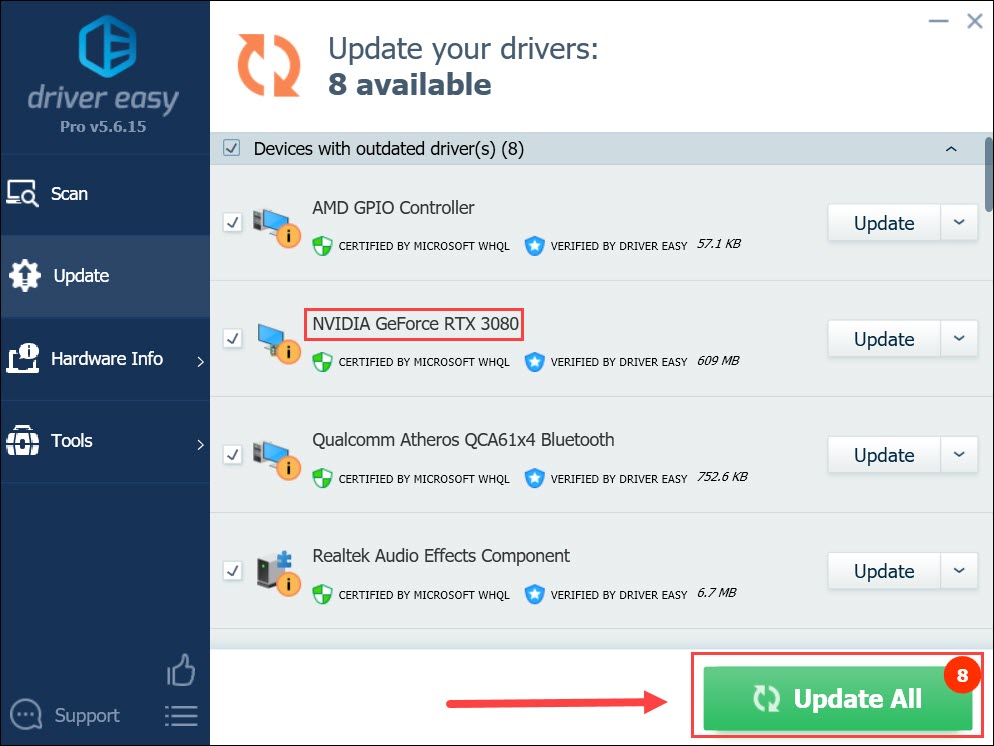
After downloading and installing the drivers, you need to restart your computer and try to rerun the game.
Delete Cache folders
A damaged cache can cause an error so the following method may help you. To implement it, do the following:
- Press the Win+R key combination.
- Type %ProgramData% and press OK.
- One at a time, right-click the Battle.net and Blizzard Entertainment folders and select Delete.
- Press Win+R, type %appdata% into the input field, and press OK.
- Right-click the Battle.net folder and select Delete.
- Press Win+R again. Now you need to type %localappdata% and press OK. This time, right-click the Battle.net and Blizzard Entertainment folders and select Delete.
If this and all of the above methods don’t work, the next one will probably help.
Link your Activision and Blizzard accounts
If your Activision and Blizzard accounts are not linked, this can cause an error. To fix this, do the following steps:
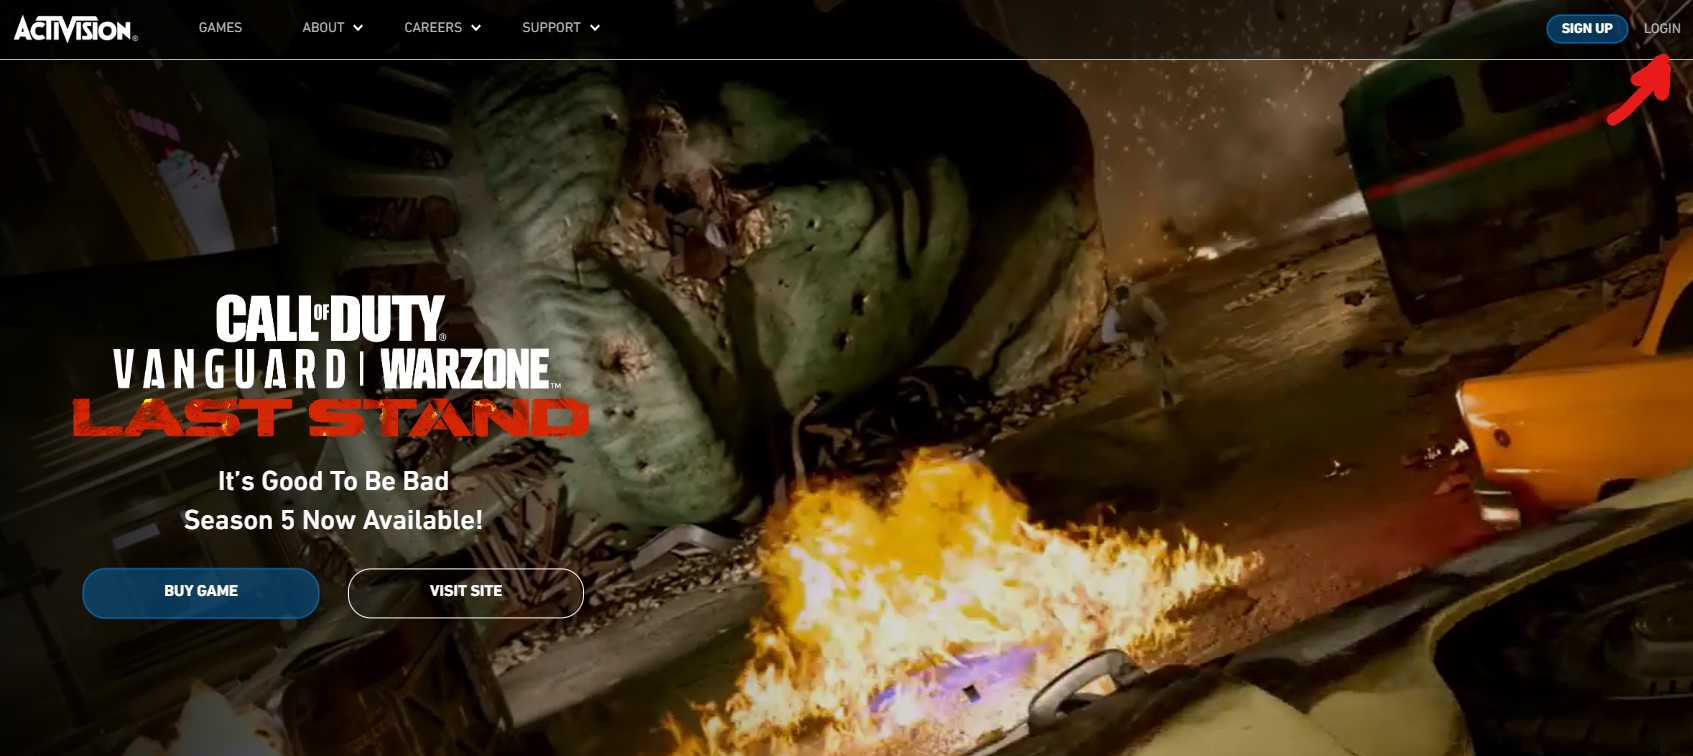
- Go to the official Activision website and select Profile (this menu is on the top right).
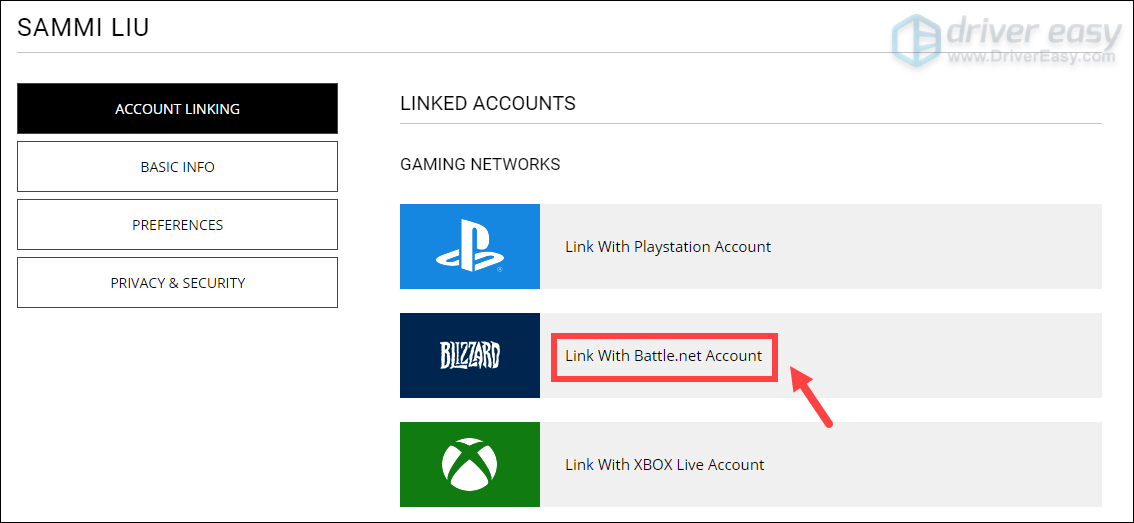
- Open the Account Linking tab, then find your profile and link it with your Battle.net account. Follow the instructions on your screen to complete the process.
One of the methods mentioned above can help you resolve the error and let you enjoy a good game. Good luck!