How to Test a Webcam
No matter what device you have, whether a computer or a laptop, the tests for webcams are the same everywhere. You can use online resources for testing webcams available on the Internet (they do not require installing any additional software). Our site also has a similar service to test your webcam. You can use it to test the performance of your webcam. We’ll also look at some other ways to do that.
driversol.com
Let’s consider testing the webcam using the webcammictest.com resource:
- Open any browser, type driversol.com/tests/webcamtest in the address bar, and then press Enter on your keyboard.
- Click the blue “Start Webcam test” button on the site to start testing your webcam.
- The site will ask for various permissions. Agree to them by clicking the “Allow” button.
- If everything is okay with the webcam and it works, you will see the streaming video in the browser window.
You can also check other features of the camera, such as the microphone, on this resource.
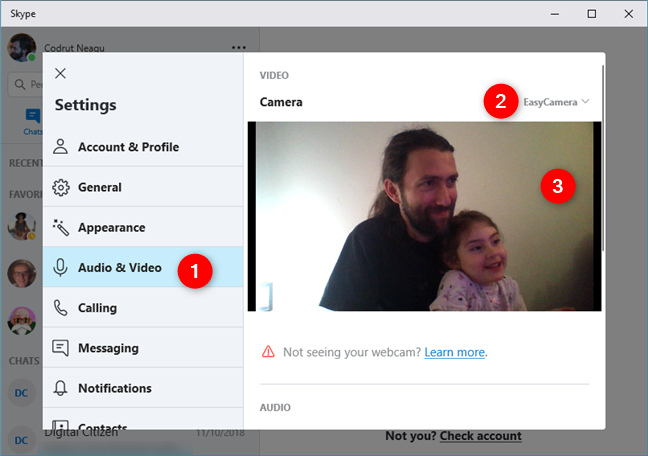
How to check your webcam using Skype?
To check your webcam using Skype, follow these steps:
- Open the Start menu and launch the Skype application if installed on your PC.
- Click on the Menu button in the Skype window that opens (three dots next to the username), then click on Options.
- Go to Audio Settings. In the Video section (the right side of the window), you will see the video from the webcam, thereby testing it.
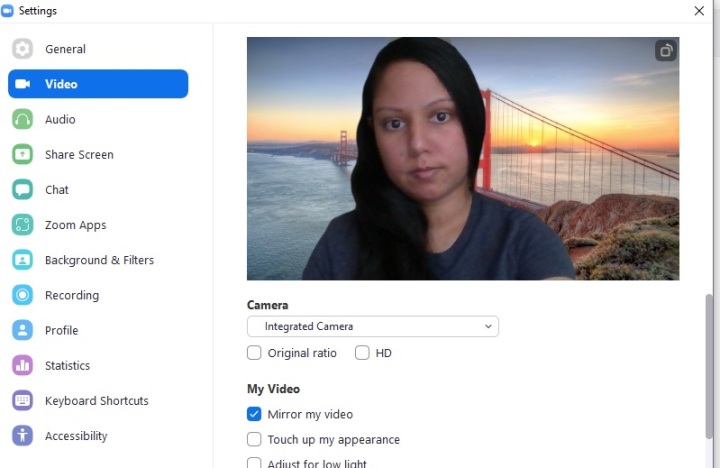
How to check your webcam using Zoom?
Skype is not the only app allowing you to check your webcam. Zoom is also suitable for this purpose. To prevent your camera from using Zoom, follow these steps:
- Find the Zoom application icon in the Start menu and left-click it twice.
- Click on the Settings button (the gear icon at the top right of the window) in the Zoom window. Left-click it once.
- Go to the Video settings, just like in the Skype application, in the settings window. You will see the video from the webcam on the right side of the window.
How to check your webcam using the standard Windows tools?
To implement this method, follow these instructions:
- Press the Win+I hotkeys to open the Settings application.
- Go to the “Bluetooth and devices” section and the “Camera” section on the right side of the window.
- Select the area where the camera is connected and click on the device you want to check.
- You will see the video from the webcam in the Camera Properties window.
What to do if the camera does not work?
To check if the webcam on your laptop works, you need to take the actions mentioned above. If everything has been done correctly, but your image does not appear on the screen, the webcam does not work. There may be several reasons for this:
- There are no necessary drivers;
- The camera is disabled in the Device Manager.
You need to update the driver to solve the latter problem – right-click on the exclamation mark and select Update Driver. It would be best to have an Internet connection to make the OS find the driver and perform the installation automatically.